
Your Honda Civic is renowned for its reliability, but factory turbochargers face intense heat and pressure on a daily basis. Over time, crucial components like the wastegate actuator can fail. When this happens, your daily commute can turn into a frustrating experience, marked by warning lights and sudden power loss.
Many drivers panic at the mention of “turbo failure.” However, this issue is often caused by a failing wastegate actuator rather than the entire turbo unit. This comprehensive guide provides you with detailed information on replacing the wastegate actuator in a Honda Civic 1.5T or Type R.
Understanding the Honda Civic Wastegate Actuator
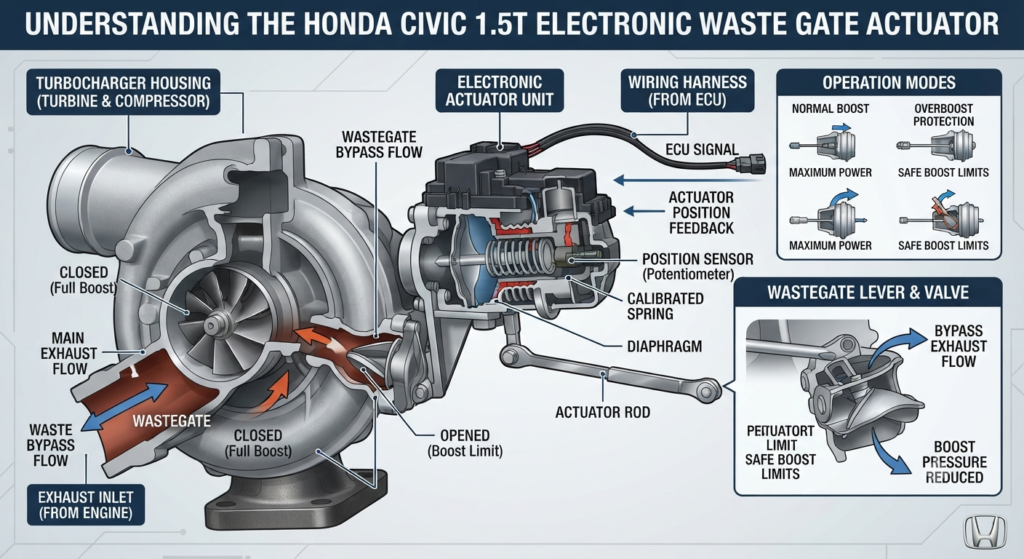
The turbocharger wastegate actuator is a small but critical device. It controls the bypass valve that regulates the flow of exhaust gas into the turbine wheel. By managing this flow, the actuator determines how much boost pressure your engine receives.
Modern Honda Civics use different setups depending on the trim level:
- Standard 1.5L Turbo Engines: These typically feature electronic actuators managed directly by the engine computer.
- High-Performance Civic Type R Models: These also rely on precise electronic control to maintain consistent boost throughout the rev range.
Due to constant exposure to extreme engine heat, internal springs can weaken or the electronic circuit board can fail over time.
Top Symptoms of a Failing Wastegate Actuator
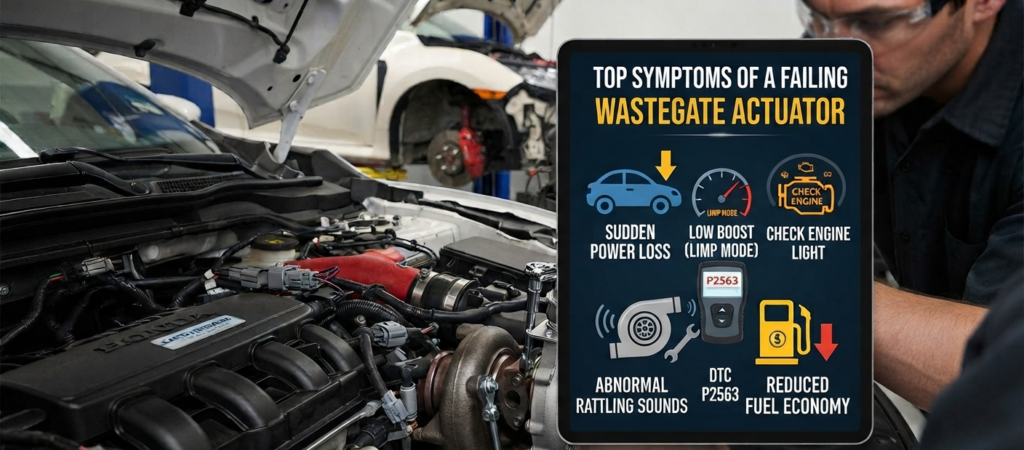
Recognizing the early warning signs of actuator failure can save you from being stranded on the highway. Common symptoms include:
- Sudden Loss of Power: The car feels sluggish, and accelerating when pressing the gas pedal becomes difficult.
- Limp Mode: The engine computer restricts power to protect the motor from damage.
- Check Engine Light: You may notice boost pressure-related diagnostic trouble codes, such as P2563.
- Unusual Rattling Noises: A metallic rattling sound comes from the turbo area during idle or deceleration.
- Reduced Fuel Economy: The engine has to work harder to achieve normal speeds, consuming more fuel.
The Dealership Myth: Can You Replace Just the Actuator?
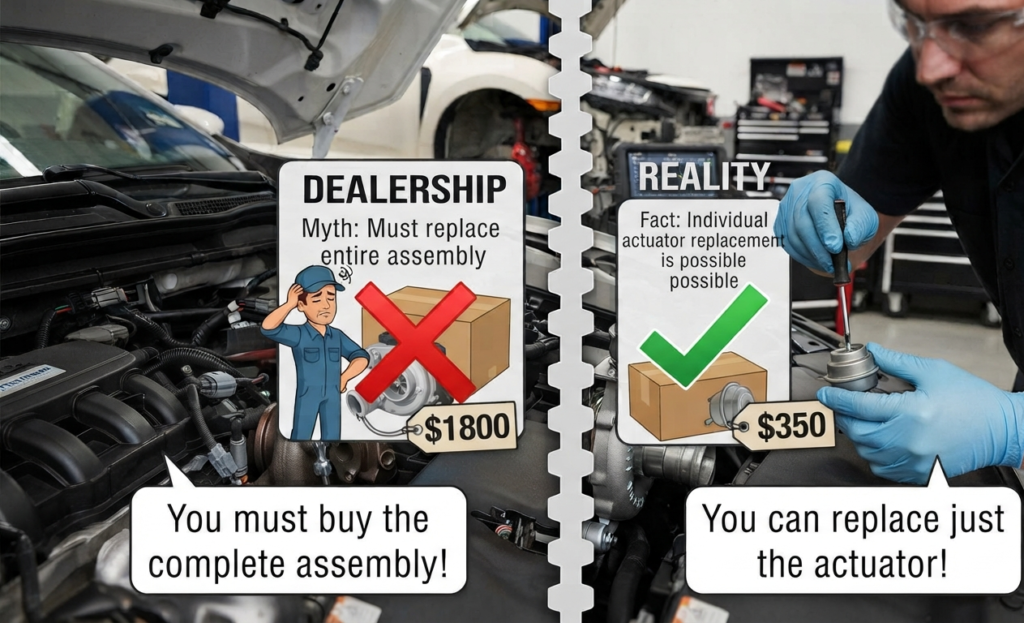
Many local dealerships and repair shops tell an expensive story, claiming that individual wastegate actuators cannot be replaced on modern Honda Civics. They insist that you must purchase an entire new factory turbocharger assembly.
This claim is often false. While manufacturers prefer selling full assemblies, aftermarket manufacturers and OEM suppliers also provide standalone actuators.
Replacing only the actuator can save you hundreds of dollars in parts costs. It requires mechanical patience, but it is a very achievable DIY project for enthusiasts.
Tools Needed for the Replacement Job
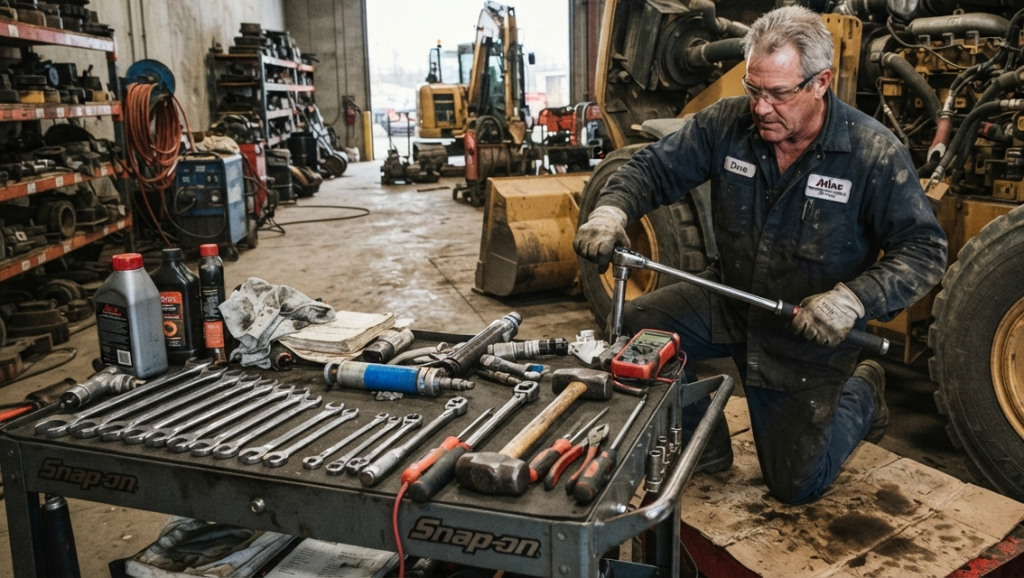
Having the right tools ready before starting prevents unnecessary delays in the garage. Gather this equipment before beginning the project:
- Metric socket set (including deep and shallow sockets).
- Flexible socket extensions and a universal joint adapter.
- Ratchet and breaker bar for tight bolts.
- Penetrating fluid to loosen rusted fasteners.
- An advanced OBD2 scanner capable of electronic actuator calibration.
- Safety glasses and mechanic gloves.
Step-by-Step Replacement Guide
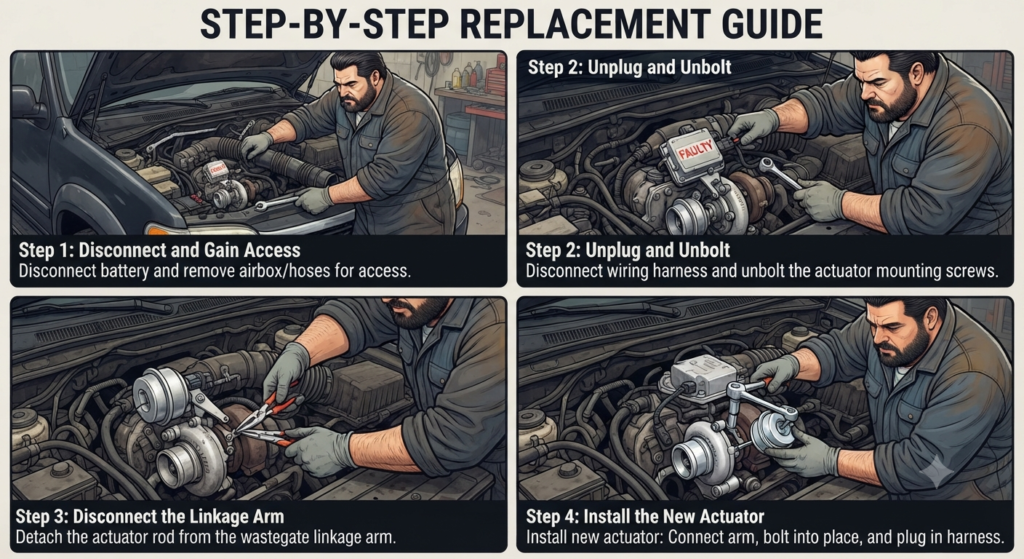
Working in the engine bay of a modern Civic requires careful attention to detail. Follow these steps to complete the replacement safely:
Step 1: Disconnect and Gain Access
- Disconnect your car’s battery to protect the electrical system.
- Remove the engine cover and any intake piping blocking direct access to the turbocharger unit.
- Allow the engine plenty of time to cool down completely, as turbo components retain heat for hours.
Step 2: Unplug and Unbolt
- Locate the wastegate actuator mounted directly on the turbo housing.
- If your model uses an electronic unit, carefully unplug the electrical wiring harness.
- Apply penetrating fluid if the mounting bolts show signs of rust or corrosion.
- Loosen and remove the mounting bolts securing the actuator to the bracket.
Step 3: Disconnect the Linkage Arm
- Carefully unhook the actuator rod from the wastegate arm.
- Pay close attention to how the retaining clip is attached so you can reinstall it correctly.
- Lift the old actuator unit out of the engine bay.
Step 4: Install the New Actuator
- Position the new wastegate actuator in place.
- Securely attach the linkage arm to the wastegate lever and lock it with the retaining clip.
- Hand-tighten the mounting bolts first, then torque them down to factory specifications.
- Firmly reconnect the electrical wiring harness until you hear a click.
Post-Installation Calibration and Testing

Modern electronic wastegate actuators require calibration after installation.
- Plug your advanced OBD2 scanner into the port beneath the dashboard.
- Navigate to the turbo control module menu and select the actuator re-learn or calibration function.
- Follow the on-screen prompts to let the computer set the open and closed limits.
- Clear all existing diagnostic trouble codes from the engine memory.
- Take your Honda Civic for a gentle test drive in a safe area.
- Monitor your boost gauge or use live data on the scanner to ensure boost pressure has returned to normal levels.
Frequently Asked Questions

- Q: Can I drive my Honda Civic with a broken wastegate actuator?
A: Driving with a broken actuator is strongly discouraged. Your car will lack proper acceleration, and severe overboost can cause internal engine damage. - Q: How long does the replacement process take?
A: For an intermediate DIYer, this job typically takes between two to four hours. The limited working space around the turbocharger extends the process slightly.
Conclusion
Replacing a Honda Civic turbocharger wastegate actuator requires patience and the right tools. Handling this project yourself leads to significant savings compared to dealership quotes.
Always prioritize safety, follow the calibration steps carefully, and enjoy the restored power of your Civic turbo!