
Scoring a used Honda Civic from a private seller is easily one of the smartest financial plays you can make. Let’s face it these cars have built a bulletproof reputation for going forever, sipping fuel, and costing next to nothing to maintain.
The flip side? You don’t get a dealership warranty backing you up. If you miss a major mechanical red flag during the handoff, you’re the one footing the repair bill.
Knowing exactly what to hunt for can save you a bundle. This straightforward guide walks you through every single step of inspecting a used Civic like a seasoned mechanic before you hand over your hard-earned cash.
Step 1: Pre-Inspection Prep & Document Checks
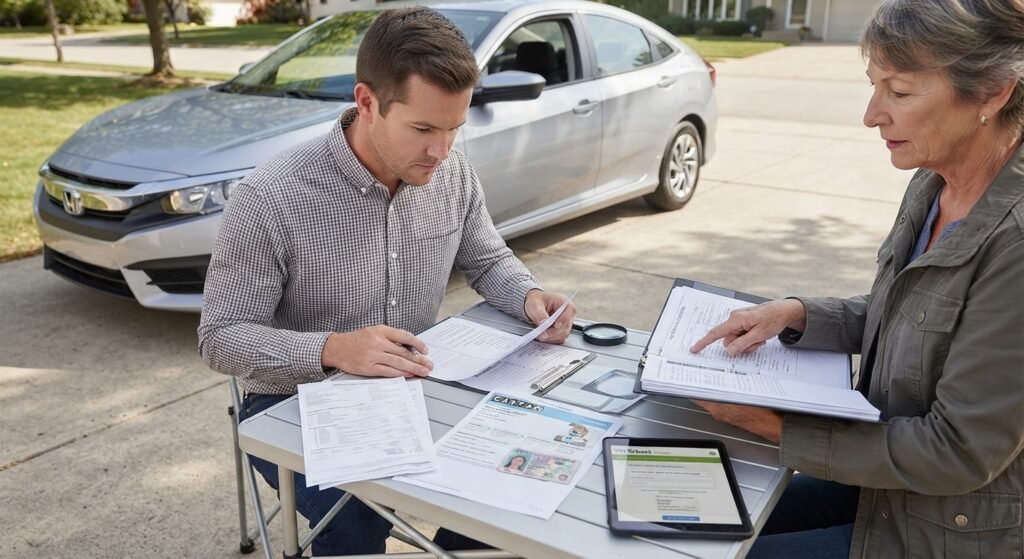
Never drive out to look at a car without vetting the paperwork first. Private party scams and messy titles happen way more often than most buyers realize.
- Inspect the Title Early: Ask the seller to text you a clear photo of the title before you schedule a meetup. Make sure the name listed matches their driver’s license to the letter.
- Watch Out for Title Jumping: This is when a person buys a car, leaves the previous owner’s name blank on the title, and tries to flip it without ever registering it legally. Avoid these deals completely.
- Verify the VIN Everywhere: Match the Vehicle Identification Number across multiple spots: the dashboard plate through the driver’s side windshield, the sticker on the driver’s door jamb, and the physical stamp on the engine block.
- 司 Check the Service Binder: Ask to look through their maintenance records. Consistent oil changes every 5,000 miles tell you the car was genuinely cared for.
Step 2: Exterior & Structural Walkaround
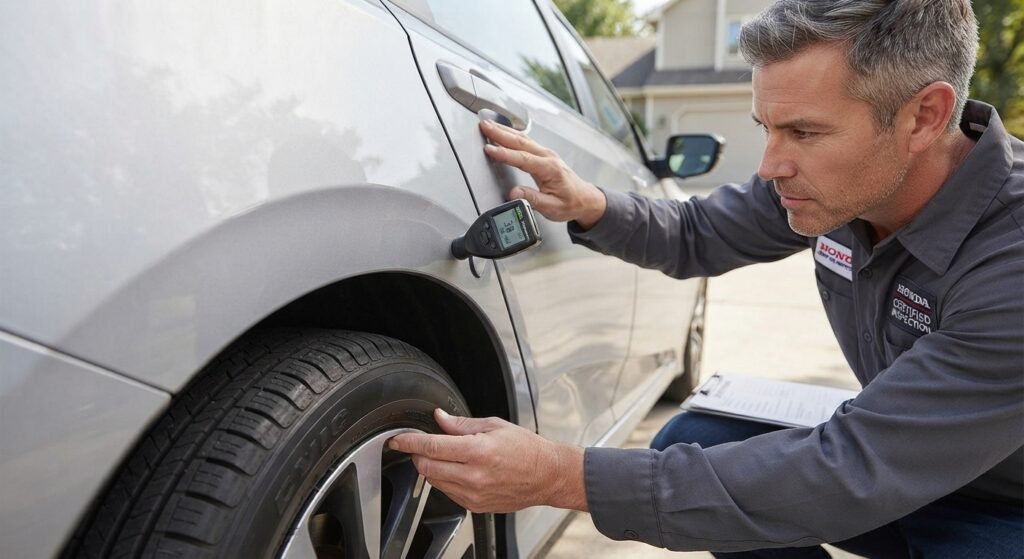
Walk around the vehicle in broad, natural daylight. Never check out a used car at night or in the rain darkness and water hide scratches, mismatched paint, and dents in seconds.
- Examine Panel Gaps: Look closely at the gaps between body panels. If the hood-to-fender gap is wide on the left and pinched tight on the right, that car has likely taken a hit in the front.
- Hunt for Rust: Run your hands along the rear wheel arches and rocker panels. Civics love to rust in these spots, especially if they spent winters up north where roads get heavily salted.
- Inspect the Tires: Look at the tread depth (try the classic quarter test) and check the four-digit manufacturing date code on the tire sidewall.
- Factor in Replacements: If the tires are pushing ten years old or showing uneven inner wear, budget for a fresh set and a professional wheel alignment right away.
Step 3: Under the Hood: Fluids & Common Flaws
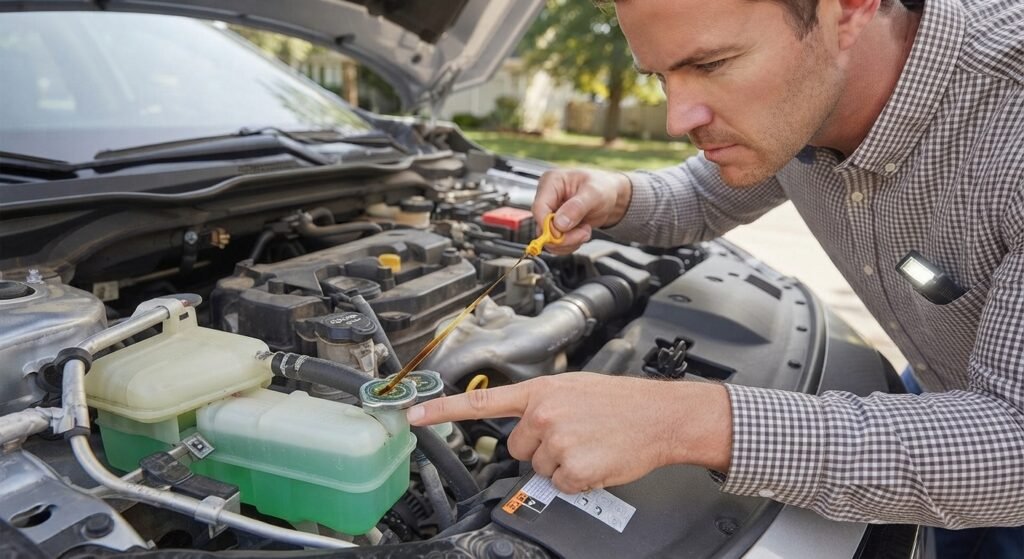
Pop the hood and take a look at the overall vibe. A spotless, pressure-washed engine bay can sometimes be a red flag used to wash away fresh oil leaks just before a buyer arrives.
- Check the Dipstick: Pull the oil dipstick. The oil should look amber or dark brown never milky white, frothy, or thick like sludge, which points straight to a blown head gasket.
- Inspect the Coolant: Peek into the coolant overflow tank. If you spot floating oil droplets or rusty gunk, walk away immediately. That’s a sign of internal engine cooling failure.
- Mind the Turbo Engines: If you’re looking at a modern 10th or 11th-generation Civic with the 1.5L turbocharged engine, give the oil dipstick a sniff. A strong fuel smell means fuel dilution, which can eat away at turbo seals over time.
- Inspect Belts and Hoses: Look over the rubber accessory belts for deep cracking, and squeeze the coolant hoses to make sure they aren’t dry-rotted, stiff, or mushy.
Step 4: Interior, Electronics & Honda Sensing
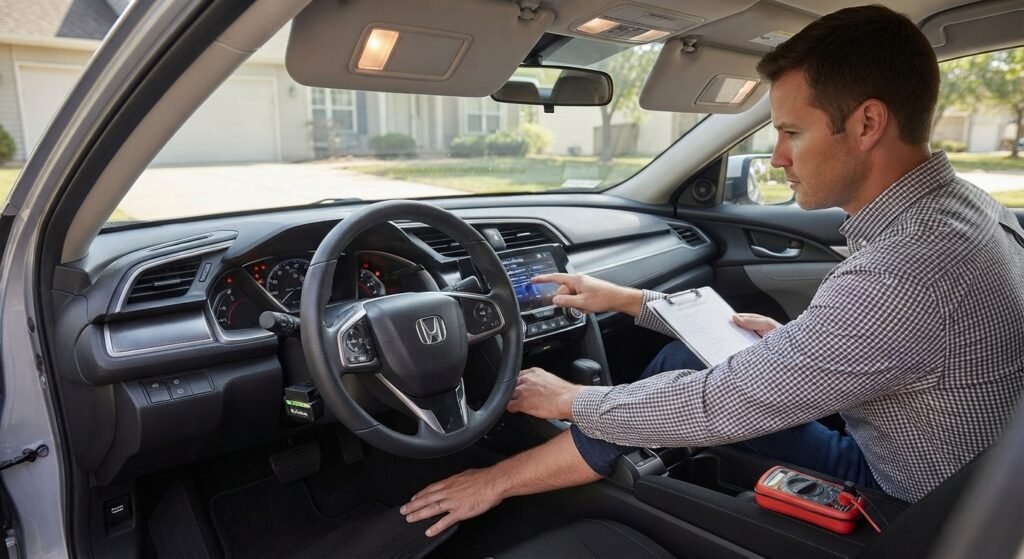
Hop inside the cabin, put the key in the auxiliary position, and watch the dashboard. Every single warning light should illuminate and then switch off once the engine fires up.
- Test Every Switch: Roll every window down, test all door locks, and play with the seat adjustment buttons. Pull down the sun visors, check the vanity mirror lights, and look closely at the headliner for water stains or sagging fabric.
- Blast the Climate Control: Turn the A/C and heater up to full speed. Make sure the blower works across all levels and the air blows ice-cold within a minute.
- Check for Moisture: Lift the floor mats and feel the carpets. A musty, damp smell usually means hidden flood damage, which can fry wiring harnesses and lead to a lifetime of electrical headaches.
- Test Honda Sensing: If you’re checking out a newer Civic equipped with safety tech, test out the adaptive cruise control and lane-keep assist during your drive to ensure the front radar and windshield cameras are actually working.
Step 5: The Ultimate Test Drive Protocol

Map out a solid 15-minute test drive that hits city streets, rough patches of road, and highway speeds. Try to arrive a few minutes early so you can touch the hood and verify the car is starting completely cold.
- Listen to the Cold Start: Listen closely as the engine cranks. If you hear a harsh rattle coming from the timing chain area on a cold startup, the tensioner is likely worn out.
- Silence the Radio: Drive over a few bumps with the radio off. Clunks or popping sounds from the front end usually mean worn-out control arm bushings, strut mounts, or sway bar links.
- Feel the Transmission: Whether it’s an automatic or a CVT, it should shift smoothly without slipping, hesitating, or jerking you around.
- Check Tracking: Find a safe, straight stretch of highway and let go of the steering wheel for a split second. If the car pulls hard to one side, it’s dealing with a bad alignment or frame geometry issues.
Step 6: OBD2 Scanners & Hidden Code Traps

Shady sellers love to clear check engine lights with a cheap handheld scanner right before you pull up. The light turns off, but the underlying issue is still very much alive.
- Bring Your Own Scanner: Plug your personal OBD2 scanner into the port under the steering wheel and check the live data readiness monitors.
- Spot the Cleared Memory: If the monitors show up as “not ready” or “incomplete,” the seller wiped the car’s computer memory recently. They are actively trying to hide an emissions or sensor fault.
- Look for Permanent Codes: Check for permanent diagnostic trouble codes too. Permanent codes can’t be wiped away by a simple memory clear and will expose historical engine trouble.
Step 7: Negotiation & Final Verdict
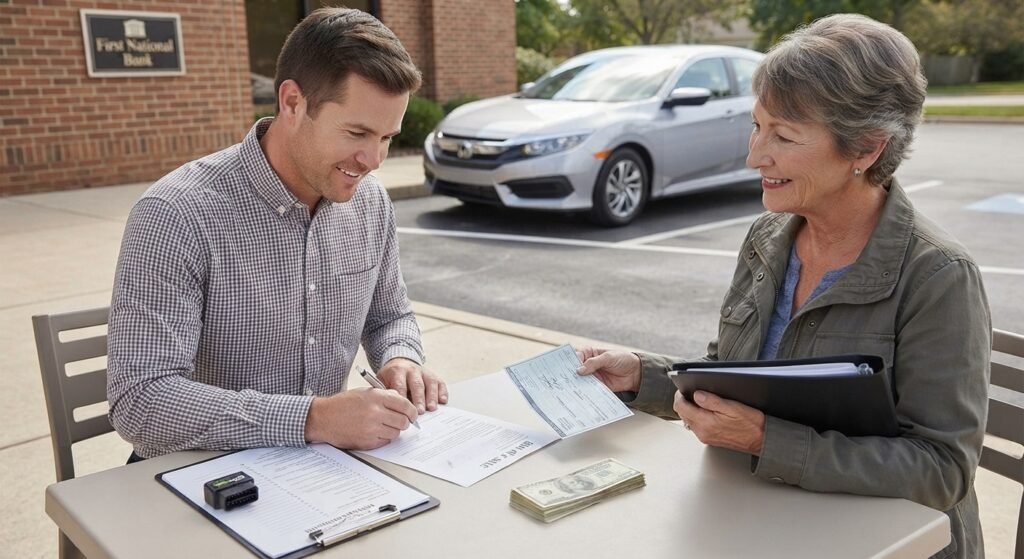
Use every legitimate mechanical flaw you found during your inspection as leverage to talk down the asking price. If the tires are bald or the brakes are grinding, estimate the repair cost and subtract it from their offer.
- Play it Safe: Never carry a massive stack of cash to a private meetup. Meet up in a well-lit public space, like a local bank branch or a police station parking lot.
- Finalize Properly: Only hand over payment after the title has been officially signed over to your name and a proper bill of sale has been filled out and signed by both sides.
Taking your time with an inspection takes patience, but it’s the only way to guarantee you drive home in a solid, reliable Honda Civic that won’t give you buyer’s remorse.
Is there anything specific about this revised version you would like to tweak, or should we work on another section?