
Important Note:
This comprehensive guide is tailored specifically for diagnosing and resolving hidden electrical power loss on Honda Civic platforms.
Understanding Normal vs. Abnormal Battery Drain
Every modern Honda Civic requires a small amount of continuous power to maintain computer memory, radio presets, security systems, and the digital clock.
- Normal Draw: Between 12 mA and 30 mA (up to 50 mA for newer trims with advanced tech packages).
- Abnormal Draw: Consistently exceeding 50 mA to 80 mA, which will drain a healthy battery within a few days or overnight.
Essential Tools You Will Need
- Digital multimeter (capable of measuring DC Amps)
- Basic hand tools (socket set and wrenches)
- Flashlight or headlamp
- Electrical tape or zip ties
- Helper or clamp (to manually trigger door latches)
Step 1: Preparing Your Civic for Testing

Modern Civics feature automated computer modules that wake up when doors, hoods, or trunks are opened. To prevent false high readings, you must trick the car into a closed, locked state:
- Hood Switch:
Locate the physical plunger switch on the hood latch, press it down, and secure it with electrical tape. - Dome Lights:
Switch interior dome lights to the OFF position. - Door Latches:
Use a screwdriver to manually click the door latches on all doors into the closed position. - Lock Doors:
Lock the vehicle using your key fob or interior lock button. - Sleep Mode: Wait 15 to 30 minutes:
without touching the car for all control modules to enter a low-power sleep state.
Step 2: Measuring Total Parasitic Draw

- Disconnect the negative battery terminal clamp using your wrench.
- Set your digital multimeter to measure DC Amps (plugging the red lead into the appropriate milliamp or high-amp port).
- Touch the black test lead to the disconnected negative battery cable.
- Touch the red test lead directly to the exposed negative battery post to route all vehicle current through the meter.
- Record the reading after the numbers stabilize. If it reads above 50 mA, an abnormal parasitic draw is confirmed.
Step 3: Tracking Down the Culprit Fuse

With the multimeter connected in place of the negative battery cable, inspect both the under-hood and under-dash fuse boxes:
- Pull fuses one by one, beginning with the under-hood panel.
- Watch the multimeter screen after pulling each fuse to see if the milliamp reading drops to a normal level.
- If the reading drops significantly, that specific circuit is responsible. If not, reinsert the fuse and continue testing.
- Common Honda Hotspots:
Pay close attention to the Backup fuse (audio, gauge cluster, control units) and the Multiplex Integrated Control Unit (MICU) circuit.
Step 4: Pinpointing the Component Behind the Fuse
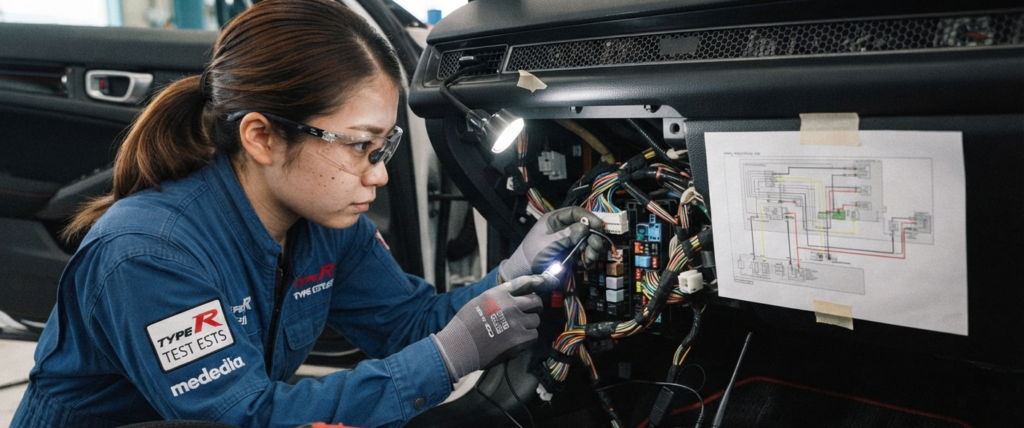
Once you isolate the culprit fuse, consult your owner manual to identify every device powered by that circuit:
- Unplug the connected components one by one.
- Monitor the multimeter screen while disconnecting each part.
- When the milliamp reading drops to normal, you have identified the faulty component.
- Common Civic Culprits: Failing Bluetooth/Hands-Free Telephone modules (common in 8th and 9th gen Civics) and sticking A/C compressor relays.
Step 5: Fixing the Problem and System Re-Initialization
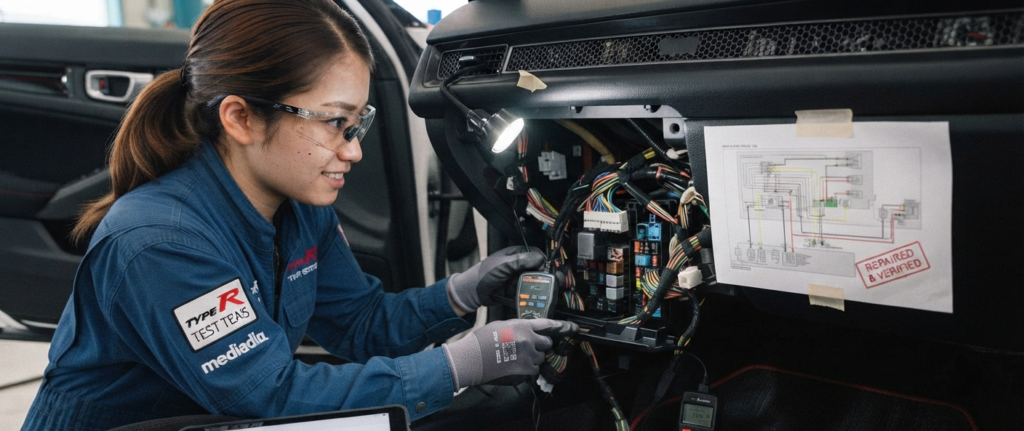
- Repair/Replace:
Swap out the broken relay, replace the damaged module, or fix any compromised wiring. - Reassemble:
Reinstall all fuses, reconnect the negative battery cable securely, and tighten the clamp. - System Reset:
Turn the ignition on without starting the engine to let computers recalibrate. - Recalibration Tasks:
Reset your digital clock, enter radio security codes if needed, and run power windows up and down to reset automatic limits. Take a short drive to complete re-initialization.