
Backing out of a crowded parking lot should be an easy daily task. When you shift your Honda Civic into reverse, you rely heavily on the rear screen.
Instead of a clear view, you are met with a hazy, smeared, or completely foggy picture. This makes parking stressful and unsafe.
A blurry backup camera is a very common issue for Honda Civic owners across the United States. Road salt, highway grime, and everyday weather wear down the tiny lens over time.
You do not need to drive to a mechanic or pay expensive dealership fees to fix this problem. Many of the best solutions take just a few minutes in your driveway with simple household items.
This guide will show you how to diagnose the exact cause of your blurry camera. You will learn safe cleaning methods, advanced restoration tricks for cloudy plastic, and how to check your vehicle wiring.
Why Your Honda Civic Backup Camera Gets Blurry
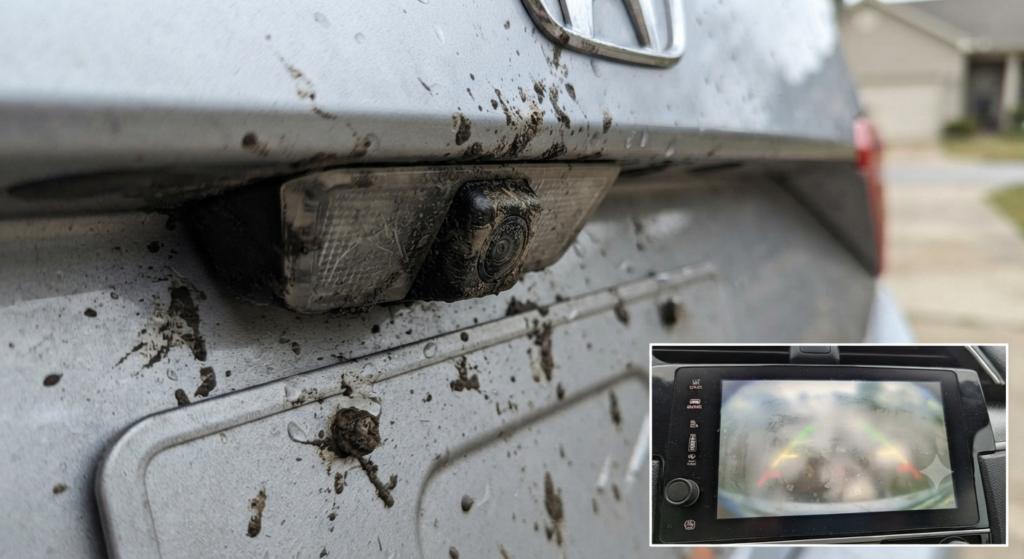
The rear camera on a Honda Civic sits in a vulnerable spot. Located right above the license plate niche, it is directly in the path of dirty spray kicked up by your tires.
Every time it rains, your car drives through puddles that splash mud, dirt, and chemical road film straight onto the tiny camera lens. Over time, this buildup bakes in the sun and hardens into a stubborn layer.
Automated car washes often make things worse. High-pressure sprayers bake liquid wax directly onto the recessed camera housing.
Many drivers make the mistake of assuming all camera lenses are made of tough glass. Honda uses a clear polycarbonate plastic exterior for these camera housings to keep manufacturing costs down and impact resistance high.
Polycarbonate scratches easily and oxidizes under UV rays. This turns the clear protective cover into a milky, frosted surface.
You must also figure out whether the blur is on the outside or trapped inside the sealed unit. Internal moisture and condensation happen when the factory seal around the tiny camera cracks.
This lets humidity seep inside the housing. If you wipe the outside lens and the image is still foggy, trapped moisture or electrical issues are usually to blame.
Step-by-Step Guide to Safe Lens Cleaning
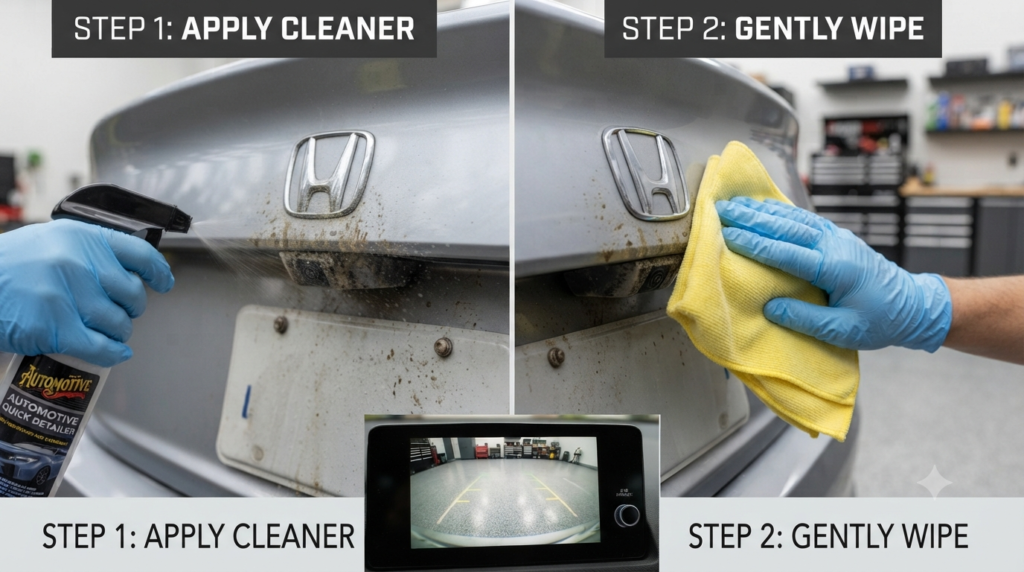
Cleaning your backup camera sounds simple, but using the wrong materials can ruin the lens forever. Never use rough paper towels, bath rags, or harsh window cleaners containing ammonia.
Ammonia eats away at plastic coatings. Paper towels contain wood fibers that leave microscopic scratches on the soft polycarbonate lens surface.
Start by spraying the camera lens generously with a dedicated automotive quick detailer or a mild lens-cleaning solution. Let the liquid sit for thirty seconds to loosen dried-on mud and bug splatters.
Take a clean, high-grade microfiber towel and gently wipe the lens in a circular motion. Avoid pressing down too hard with your thumb.
Dry the area immediately with a dry section of the microfiber cloth. Check your infotainment screen to see if the picture quality returns to normal.
The Headlight Restorer Trick for Hazy Plastic Lenses
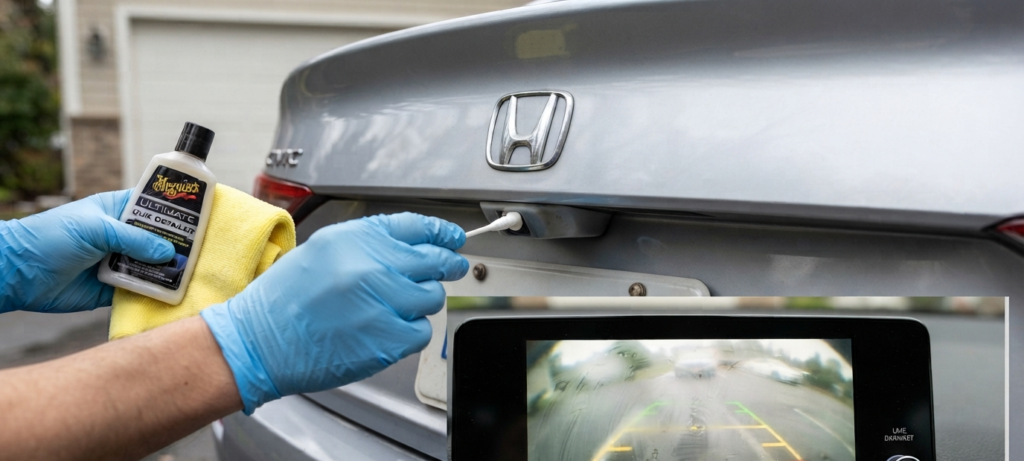
If a standard wash does not clear up the picture, your camera lens is likely suffering from oxidation. Years of harsh sunlight cause the outer layer of the plastic housing to turn yellow and cloudy.
You can fix this easily using a standard automotive headlight restoration kit or a mild plastic polishing compound. Squeeze a pea-sized drop of plastic polish onto a clean cotton swab or the corner of a microfiber cloth.
Rub the polish gently over the camera lens surface using small circular motions for about one minute. The mild abrasives in the polish will strip away the dead, oxidized plastic layer.
Wipe away the leftover residue with a damp cloth and dry the lens thoroughly. You will notice the cloudy white haze vanish, revealing crystal-clear plastic underneath.
Apply a tiny drop of synthetic car wax or a ceramic coating sealant over the polished lens. This extra layer protects the plastic from turning cloudy again in the future.
Dealing with Internal Fogging and Moisture
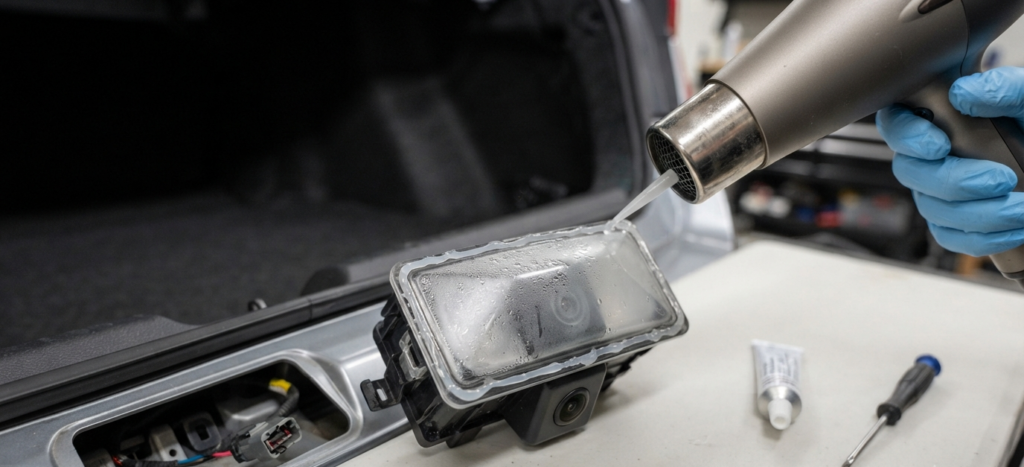
Sometimes the blurriness comes from inside the camera housing rather than the outside. If you see water droplets or a cloudy mist trapped behind the clear lens cover, moisture has leaked inside.
This usually happens when the rubber waterproof seal around the camera housing shrinks or cracks over time. Park your car in direct sunlight with the trunk open to let natural heat evaporate the trapped condensation.
If the moisture keeps returning after every rainstorm, you will need to seal the unit. Remove the interior trunk trim panel to access the back of the camera assembly.
Unplug the wiring harness and unscrew the camera mount. Dry the entire assembly completely with a handheld hair dryer set to a warm, low setting.
Run a thin bead of clear silicone sealant around the outer seams where the plastic housing meets the metal or plastic bracket. Let the silicone cure fully before reinstalling the camera back onto your vehicle.
Checking Infotainment Settings and Electrical Wiring
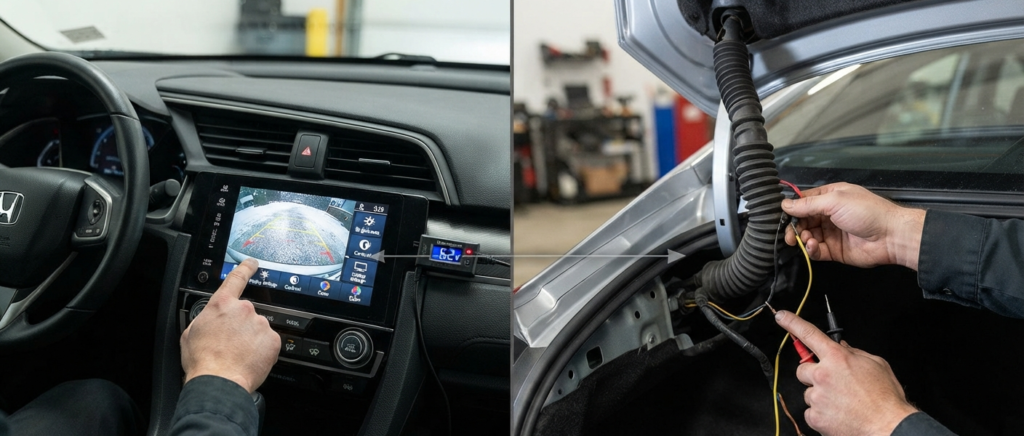
Physical dirt is not always the main culprit behind a bad camera display. Sometimes the issue lies within your Honda’s digital display settings or electrical system.
Turn your ignition on and put the car in reverse to activate the backup camera screen. Tap the settings icon on your dashboard infotainment touchscreen.
Look for the display adjustments menu to check your contrast, brightness, and color levels. An accidental tap can turn down the brightness or throw off the contrast, making a clean camera feed look washed out and blurry.
If your settings are correct, inspect the trunk lid wiring harness. The constant opening and closing of your Civic trunk puts heavy stress on the rubber boot tube near the hinge.
Wires inside this rubber tube can fray, crack, or lose connection over years of use. A damaged signal wire will disrupt the video feed, causing static lines or a fuzzy picture on your dashboard display.
When to Replace Your Civic Backup Camera
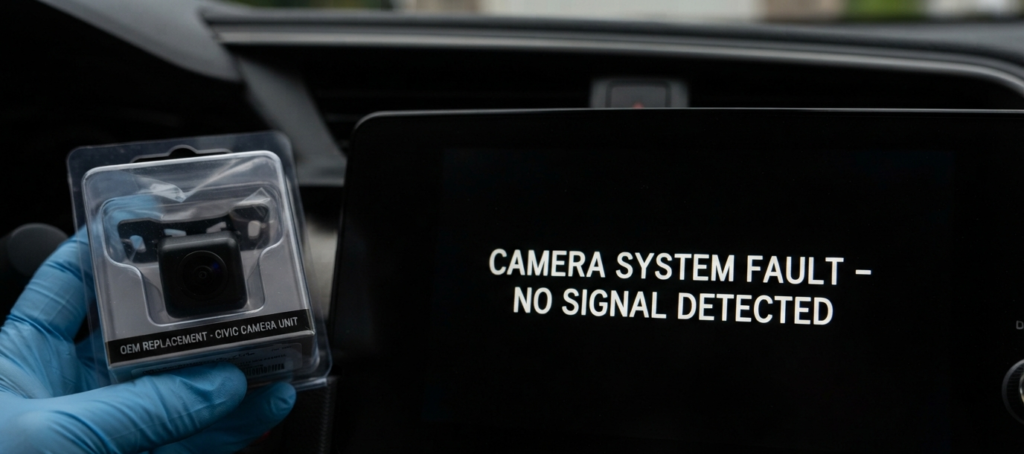
Most blurriness is easily fixed with cleaning, polishing, or sealing. However, electronic camera sensors do eventually fail due to age or internal electrical shorts.
You know the camera sensor is completely dead if the screen stays pitch black, shows a blue screen, or displays a permanent no signal warning message. A clean lens will not fix a fried internal digital sensor.
Look for a direct fit OEM replacement camera or a high-definition aftermarket alternative online. Upgrading to an aftermarket camera often gives you a sharper picture quality and wider viewing angles than the original factory part.
Replacing the unit requires removing the interior trunk garnish panel, unplugging the old hardware, and bolting the new unit into place. It is a straightforward DIY project that saves you hundreds of dollars in dealership labor costs.