
Changing brake pads on an older car is a straightforward weekend project.Modern vehicles come with complex technology.If you own a recent generation Honda Civic, you will notice the traditional handbrake lever is gone.It is replaced by an electronic switch.This modern upgrade brings a major challenge when it is time to service your rear brakes.If you attempt to push the rear brake caliper piston straight back without taking proper steps, you can permanently damage the electric parking brake motor.This mistake leads to expensive repair bills at the dealership.This comprehensive guide walks you through entering maintenance mode safely.You will learn how to complete your brake job at home without risking your car’s electrical system.
Understanding the Honda Civic Electronic Parking Brake System
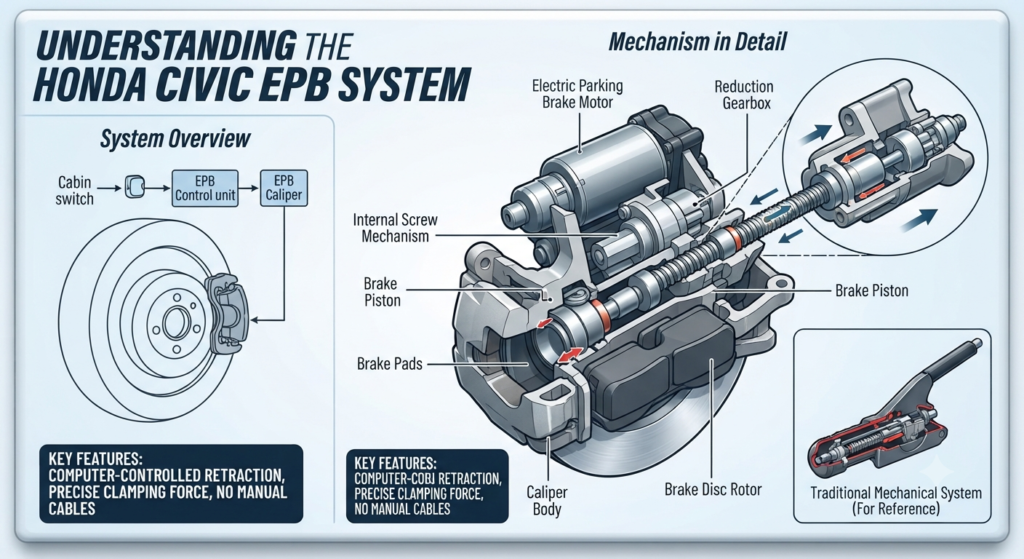
Older cars use a simple mechanical cable to pull rear brake pads against the rotor.Your modern Honda Civic uses a small electric motor attached directly to each rear brake caliper.When you flip the switch inside the cabin, these motors wind a tiny internal screw mechanism to clamp the pads.Because of this design, the piston does not just push straight in.It requires the computer to retract the internal screw mechanism first.Putting the car into service mode retracts that motor safely.Skipping this step forces the motor gears to strip under pressure.
Essential Tools and Safety Equipment Required
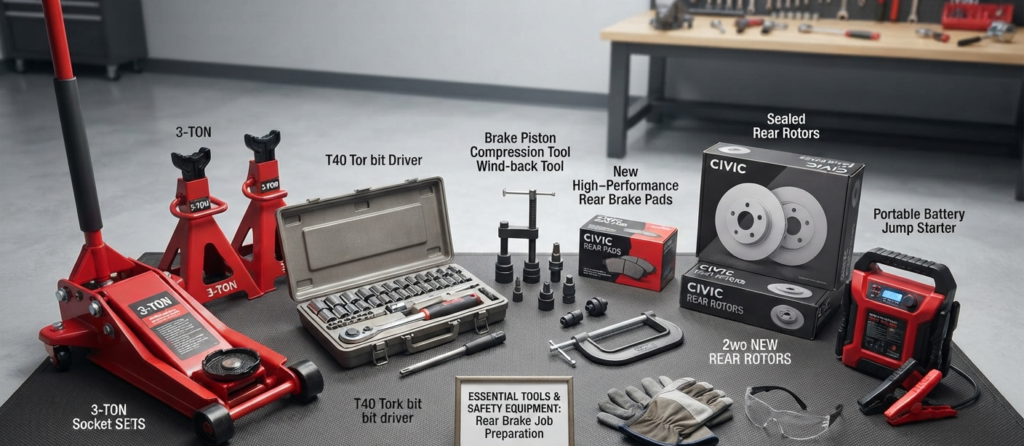
Before you lift your Civic off the ground, gather the right equipment.Having everything ready prevents frustrating delays halfway through the project.
- Heavy-duty floor jack and sturdy jack stands
- Standard metric socket set and ratchet
- T40 Torx bit for emergency manual winding if needed
- C-clamp or specialized brake piston compression tool
- New rear brake pads and rotors
- Portable battery jump starter or tender to keep voltage stable
Step-by-Step Guide to Entering EPB Maintenance Mode
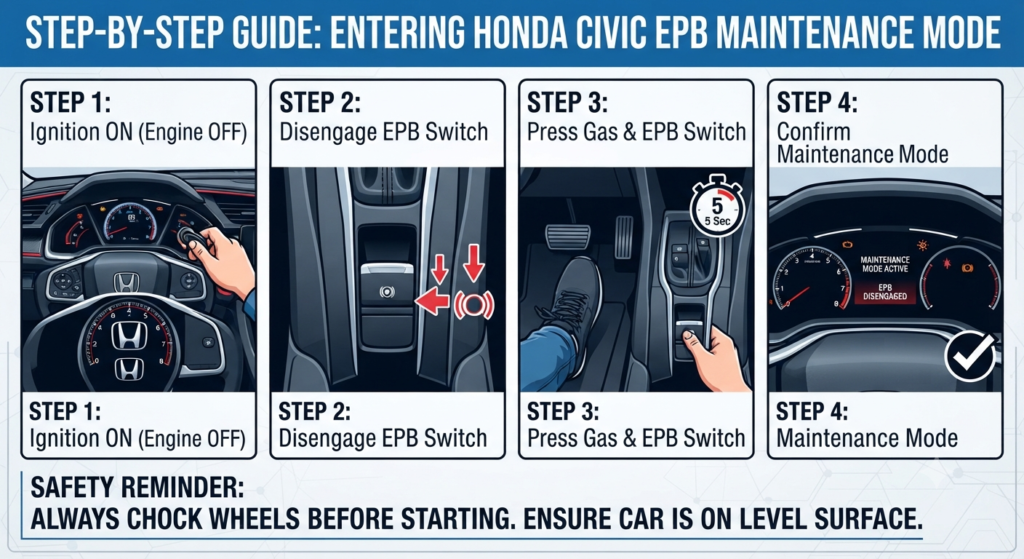
Park your Honda Civic on a flat, level surface.Chock your front wheels securely so the vehicle cannot roll.Turn your ignition switch to the ON position, but do not start the engine.Now you are ready to perform the dashboard button sequence.Release the electronic parking brake switch so it is completely disengaged.Press and hold the accelerator pedal all the way down to the floor and hold it there.While keeping your foot pressed down on the gas pedal, push and hold the electronic parking brake switch downward.Keep holding both the pedal and the switch for about five seconds.You will hear a mechanical whishing sound from the rear wheels.Look at your instrument cluster dashboard.You should see a message or an indicator light confirming that the maintenance mode is active.Once you see this confirmation, turn your ignition off.
Executing the Rear Brake Pad and Rotor Replacement
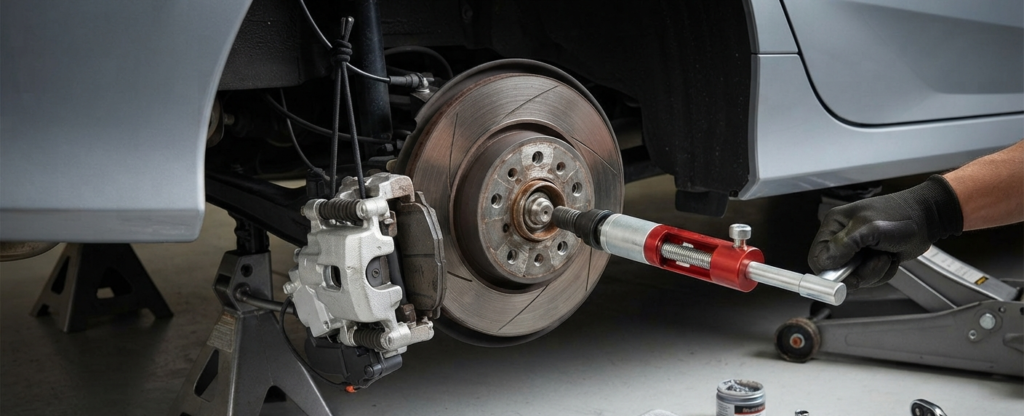
Loosen your rear wheel lug nuts slightly.Lift the rear of your Civic using your floor jack and secure it safely on jack stands.Remove the rear wheels completely.Locate the two sliding bolts on the back of the brake caliper.Remove these bolts using your metric socket set.Carefully lift the brake caliper off the mounting bracket.Never let the heavy caliper hang by its delicate electric wire harness.Support it using a bungee cord or a zip tie.Slide out the old, worn brake pads from the metal bracket.Inspect your brake rotors for deep scoring or warping.If your rotors need replacement, remove the bracket bolts and swap them out now.Place your brake piston tool against the caliper piston.Carefully compress the piston straight back into its housing.Install your brand-new brake pads and hardware clips into the bracket.Place the brake caliper back over the new pads and tighten the sliding bolts to factory torque specs.
Exiting Maintenance Mode and System Calibration
Once both rear wheels are fully reassembled and your tires are back on the ground, you need to close the service loop.Get inside your Civic and turn the ignition switch back to the ON position.Press and hold the brake pedal firmly with your foot.While holding the brake pedal down, pull and hold the electronic parking brake switch upward.Hold the switch for about five seconds until you hear the rear motors humming back into position.Check your dashboard to ensure the maintenance mode warning light has turned off.Before putting the car in drive, pump your foot brake pedal several times.This builds solid hydraulic pressure back up in the system.Test the parking brake switch a few times while parked to verify it engages and disengages smoothly.
Expert Troubleshooting: What to Do If Things Go Wrong
Sometimes minor glitches happen during complex automotive repairs.Knowing how to fix them saves you from panic.If your dashboard refuses to enter maintenance mode, your car battery might be dropping too low during the pedal dance.Attach a battery charger to keep voltage steady and try the sequence again.If multiple warning lights remain illuminated on your dashboard after finishing the job, do not worry.Take your car for a brief, gentle test drive around your neighborhood.Reaching speeds above fifteen miles per hour usually allows the onboard computers to recalibrate the steering angle and ABS sensors automatically.If an electric motor fails completely and refuses to retract, remove the small electrical plug from the back of the caliper.You can manually wind the internal mechanism using a T40 Torx bit to release the tension.
Frequently Asked Questions
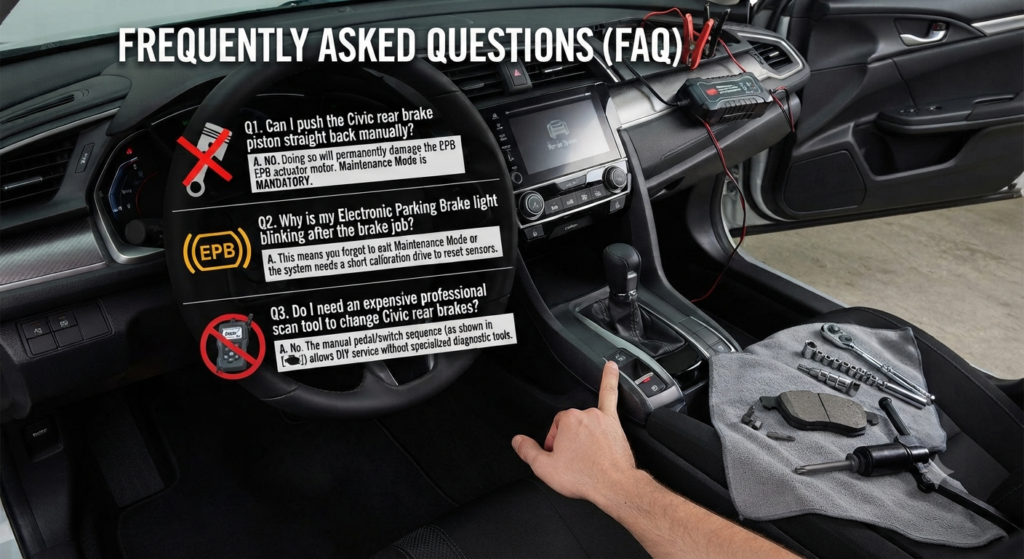
Can I push the Civic rear brake piston straight back without maintenance mode?
No. Doing so will permanently break the internal plastic gears inside the electric parking brake actuator motor.
Why is my electronic parking brake light blinking after the brake job?
This usually means you forgot to exit maintenance mode or the system needs a short calibration drive to reset the sensors.
Do I need a professional OBD2 scan tool to change Civic rear brakes?
No, the manual pedal and switch sequence detailed in this guide allows you to service your rear brakes without expensive diagnostic tools.